


3 min read
Inventory Management Demo – Acumatica Cloud ERP
TheDistribution Management Editionmanages the complexities of distribution, such as purchasing, ordering, tracking inventory, filling orders, and...
Inventory management is critical to maintaining profitability in retail, manufacturing and many other industries. Keeping track of inventory can be a challenge for a lot of SMBs – especially if they only use a spreadsheet to do so. The best solution? An integrated and automated inventory management solution, like Acumatica.
In today’s video training session, we are going to give you a brief overview of how to use the Inventory Management module within Acumatica Cloud. This will to help you create proactive, responsive replenishment operations and minimize inventory costs.
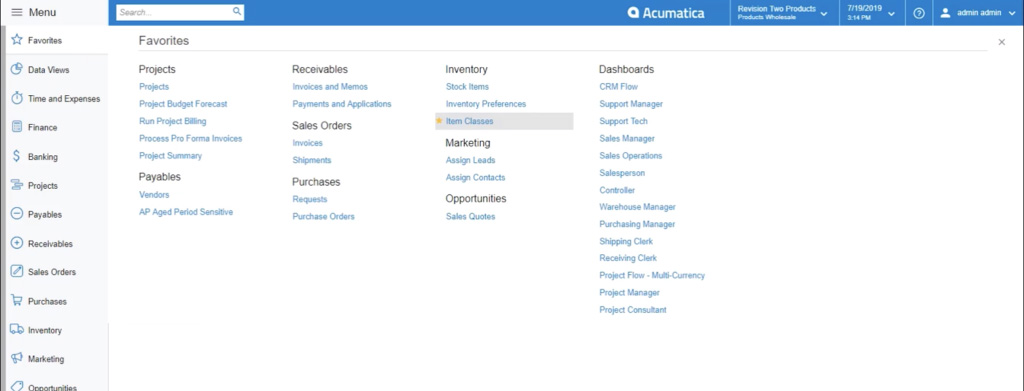
Each inventory item that you assign in the system will be assigned an Item Class. This allows for a simplified and automated audit trail at a group level. If we look at the Class ID on the Item Classes page, we can see that the Tech Support item is set up as a non-stock item but it is also being managed in the system.
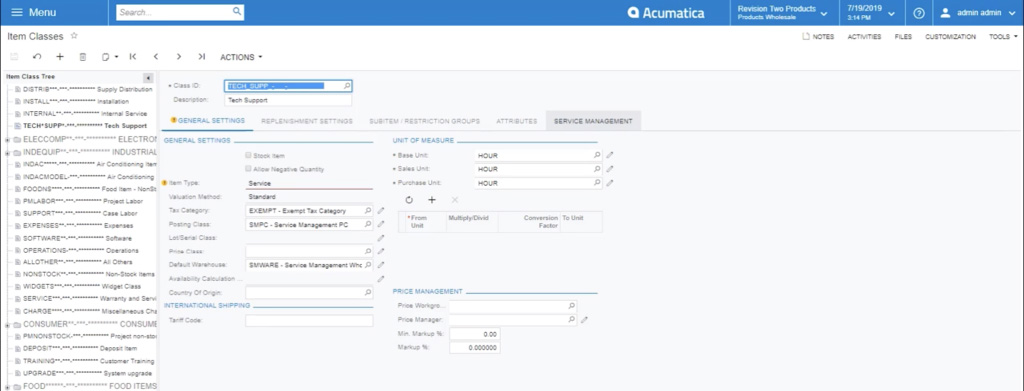
However, if we go to the Air Conditioning items, we can see that the item is a finished good, a stock item and is not being trapped by serialization. This will always be configured based on what your business requires but just a high-level overview.

When you click to the Replenishment Settings tab, you can see the item’s Replenishment Type. In this case, it’s a Purchase Order. However, if this happens to be an item that you manufacture in-house, the replenishment type would be Production Order.
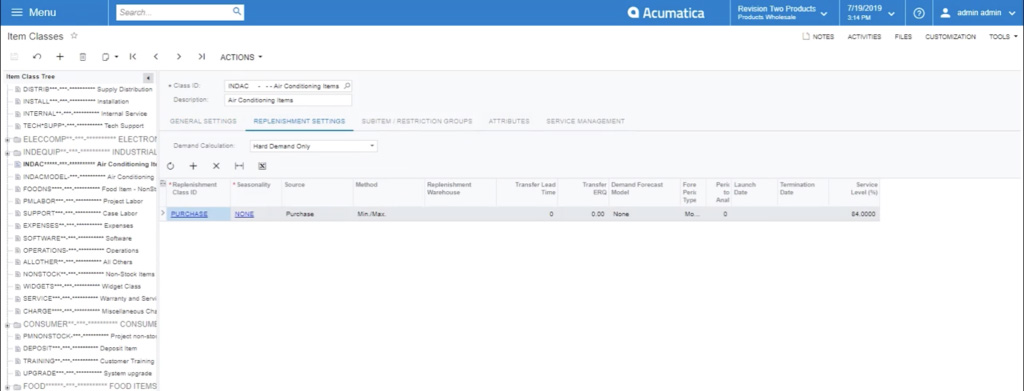
In this module, you can enter minimum and maximum deviations and even have the system notify you when you hit a specific threshold. This allows you to take the appropriate action. If the minimum deviation is triggered, then the system can be automated to the point that the PO will be generated and put into a pending status until appropriate approval occurs. This ensures that you will always have the key materials that are required on hand.
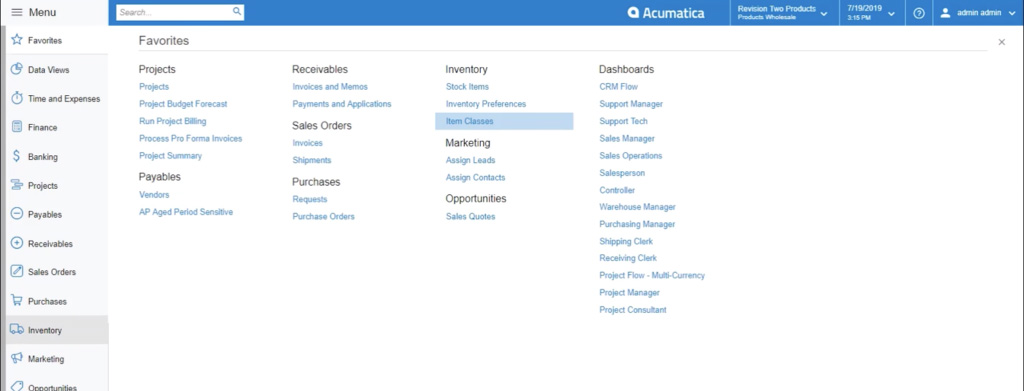
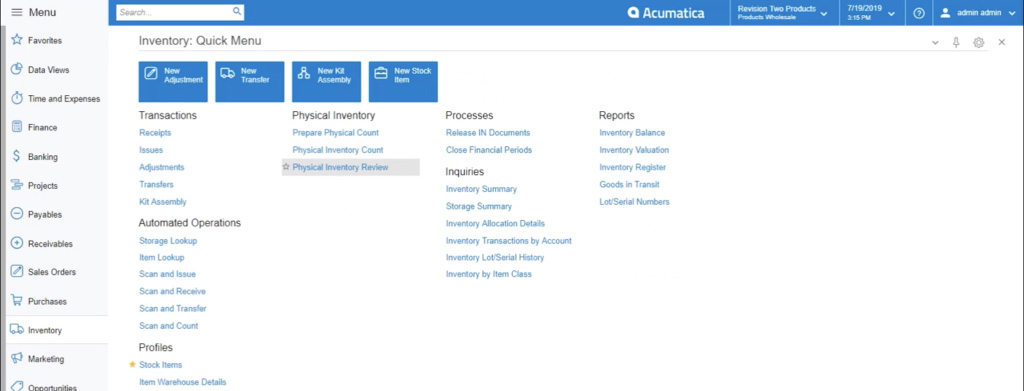
From here, let’s click to the Menu in the top left corner of the screen and navigate to the Inventory module. Now, I’m going to click the Physical Inventory Review option under the Physical Inventory heading. You can see that I’ve created a count here that’s currently in progress.

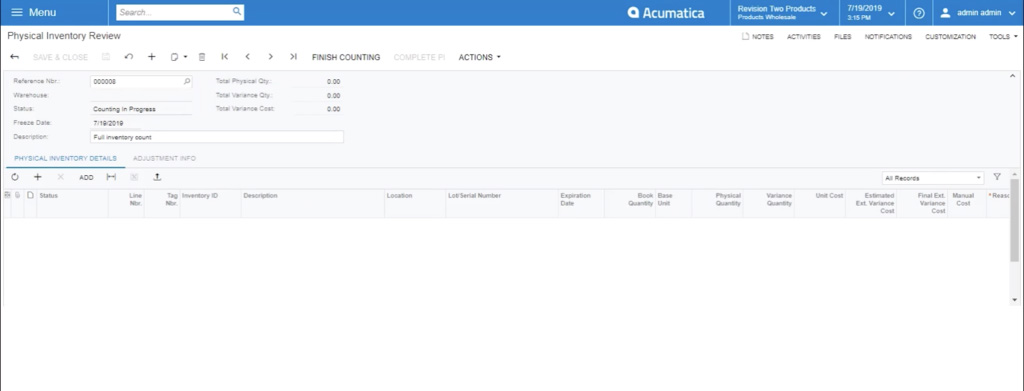
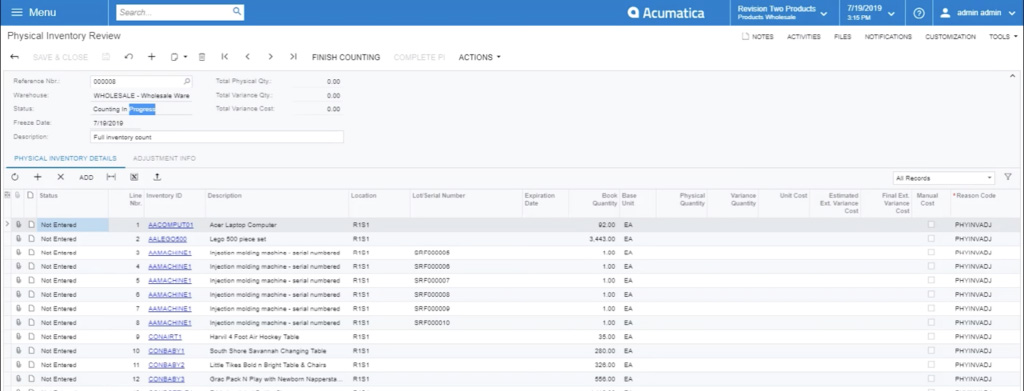
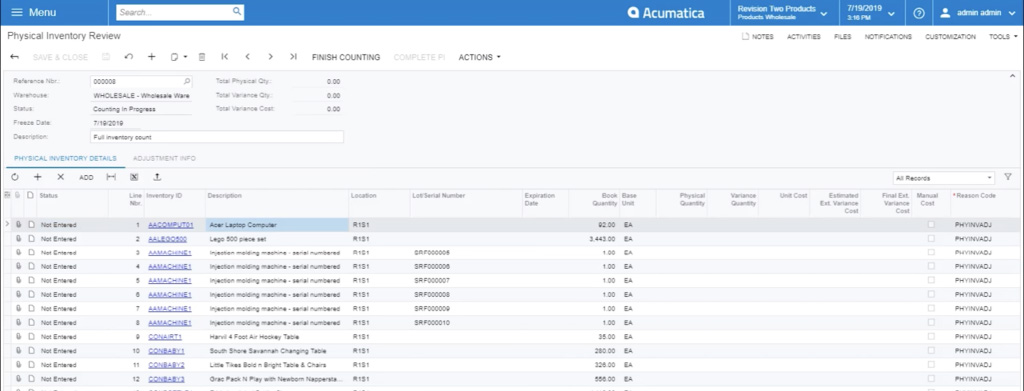
When I drill down into the details (by clicking the item in the list with the status Counting in Progress), I can see that the status is currently in progress and that the Freeze Date starts on July 19th. This means that the items in this list are currently frozen and no transactions will be able to be placed against them until the count is completed. This feature ensures that your count is always up to date. Now, I’m going to try to allocate the first item on this list (an Acer laptop) to an order and see what happens.

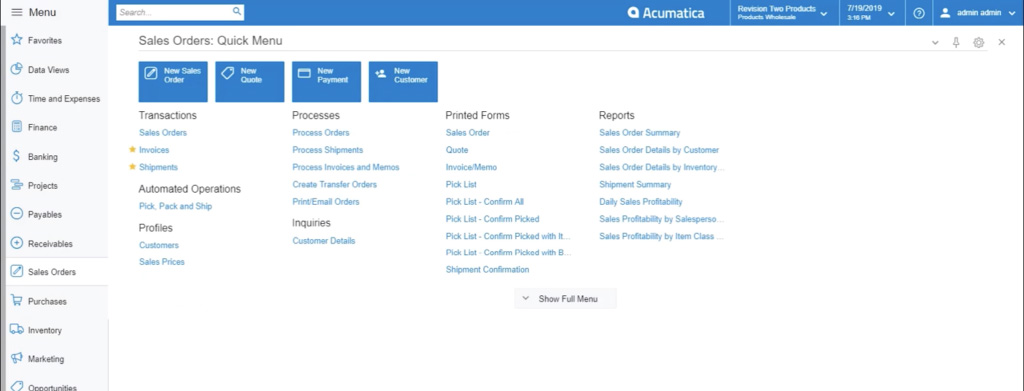
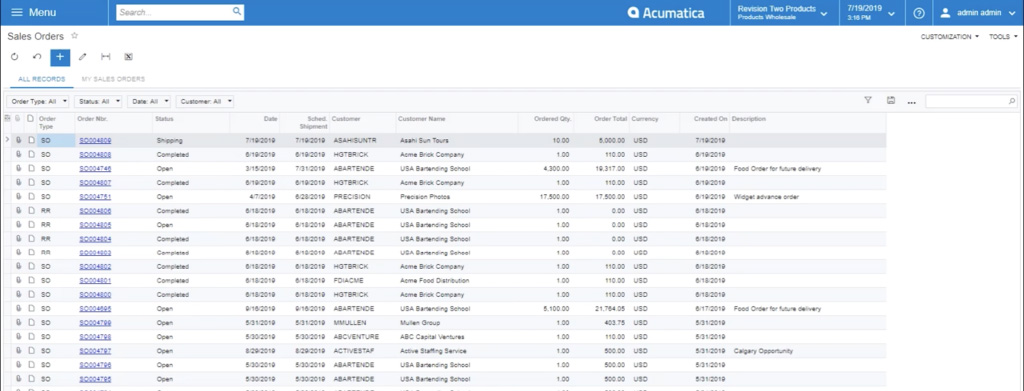
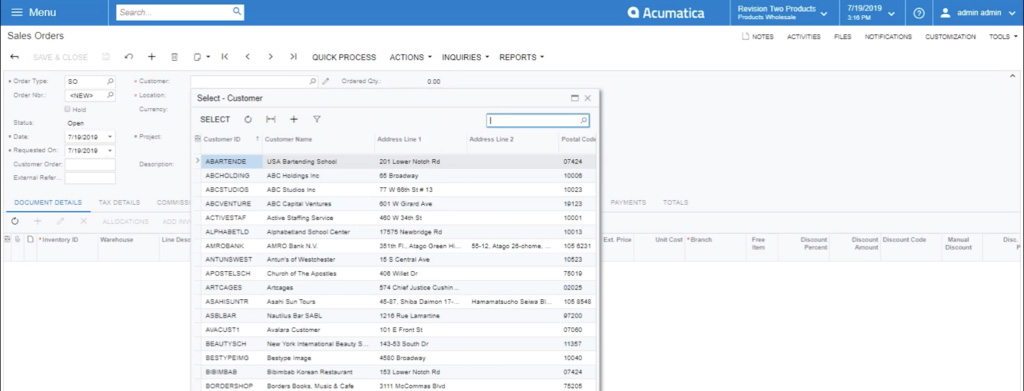
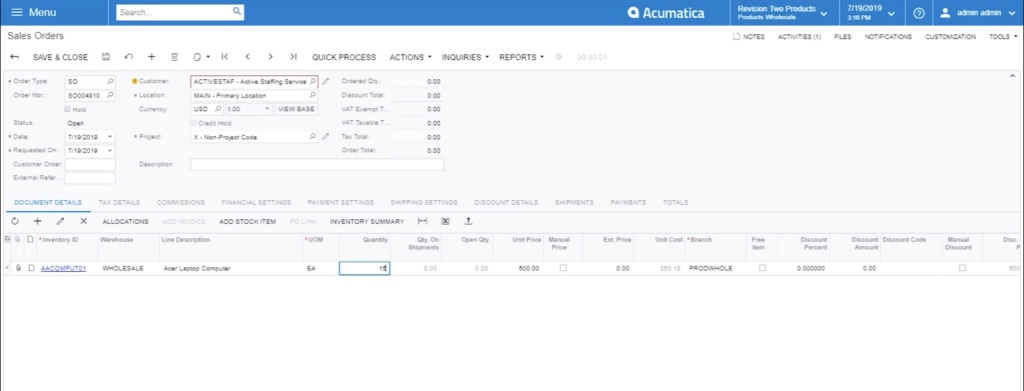
From here, I click to the Menu again and navigate to the Sales Orders module. I’m going to go ahead and create a sales order by clicking the plus sign at the top of the page. First, I’ll select any customer from my list. Then, I’ll click the small plus sign under the Document Details tab, to add an item to my sales order.
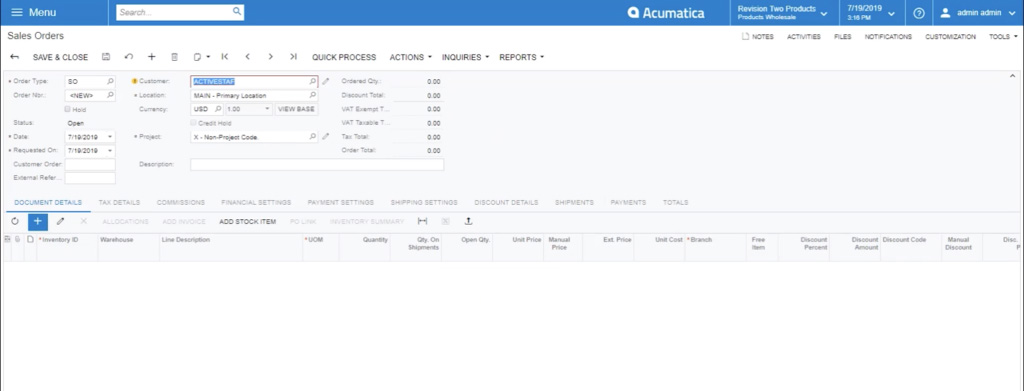
Once I find it, I will save the sales order in the system, by clicking the icon next to the Save & Close option in the top menu bar. Now, I’ll enter a quantity of 15 in the Quantity column of the Document Details tab and then click save again.
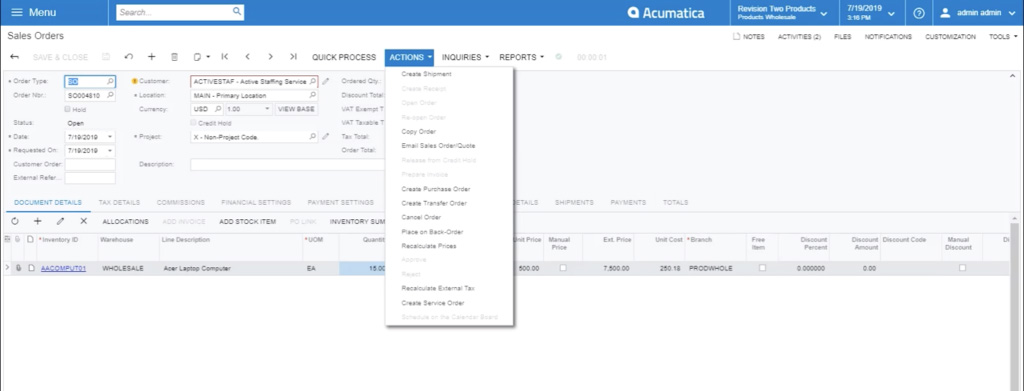
If you look at the top Sales Orders menu bar, you’ll see a Quick Process feature. This new feature was part of the 2019 R1 software update. When selected, it creates all of the required transactions immediately. In this particular case, it would create a shipment and an invoice close everything else when finished. However, for this specific video tutorial, I won’t demonstrate that feature – I’ll show you how to create a shipment.
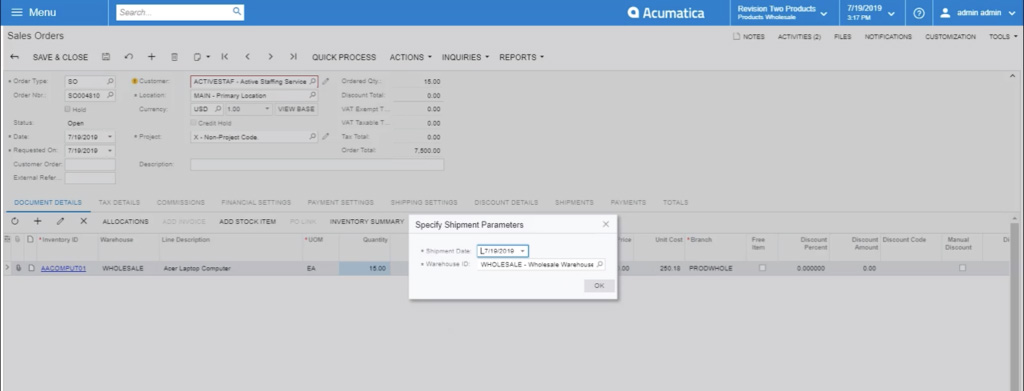
Right next to the Quick Process button, click the Actions drop-down and select the Create Shipment option.
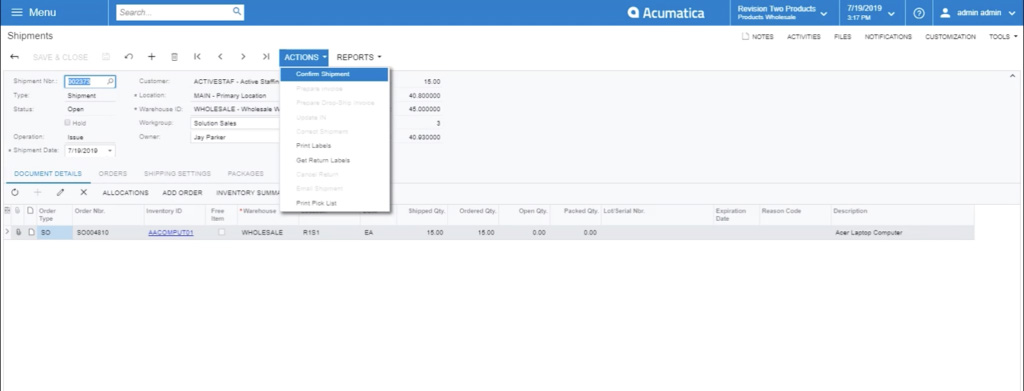
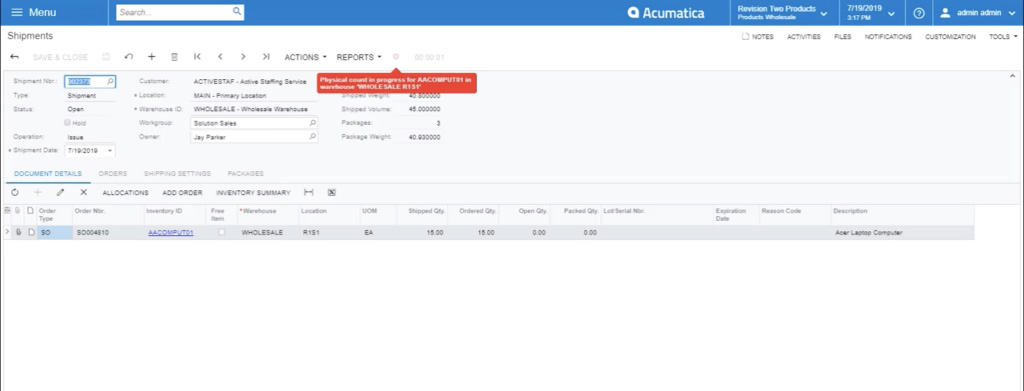
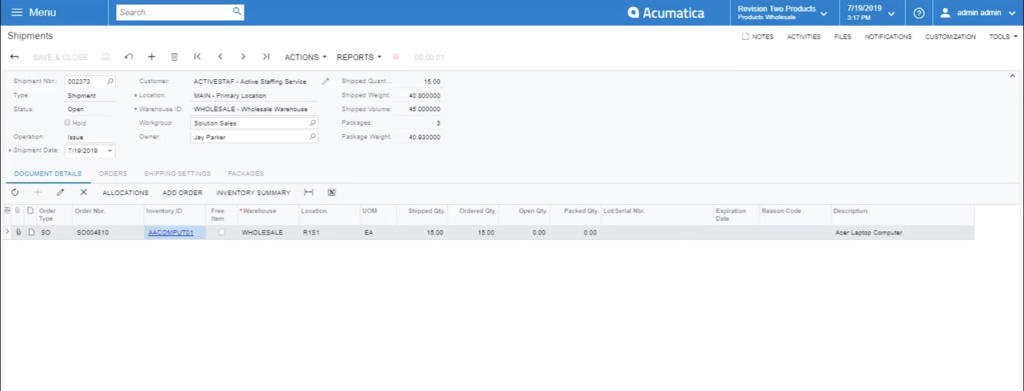
Once we’re on the Shipments page, let’s try to ship this item. Once I select the right Shipment No. and input any other relevant information, I’ll click the Actions drop-down again and select the Confirm Shipment. When I try to confirm the shipment, the system displays an error in a red box. Remember, this item is part of a physical inventory count that is still in progress, so the system will prevent you from shipping the items in that list until the count is completed. Of course, this could be something that can be overridden, but it’s a handy feature for when you want accurate inventory items.
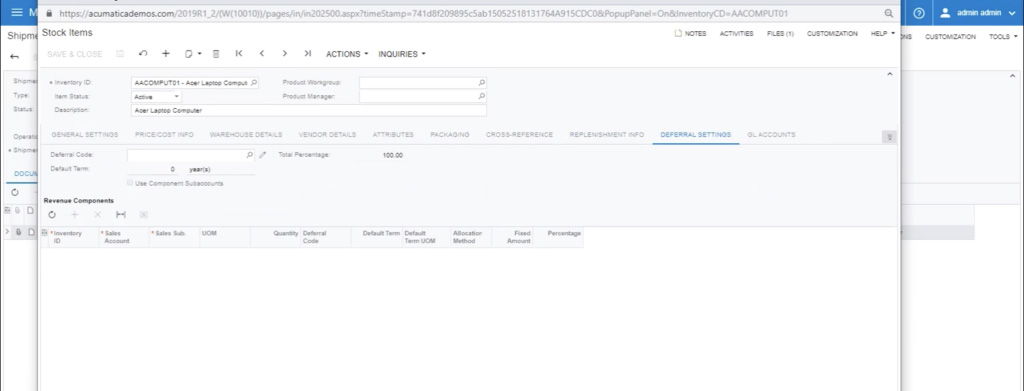
Now, I’m actually going to drill down into the actual Stock Item by clicking the Inventory ID under the Document Details tab. Here, I can show you some of the different features, parameters and fields that you can assign to specific inventory items.
So when we open up this specific stock item, we can see the item’s Inventory Code, a quick description of the item and some high-level overview settings. These settings include:
You can also see the Units of Measure. This happens to be very handy when it comes to raw material manufacturing.

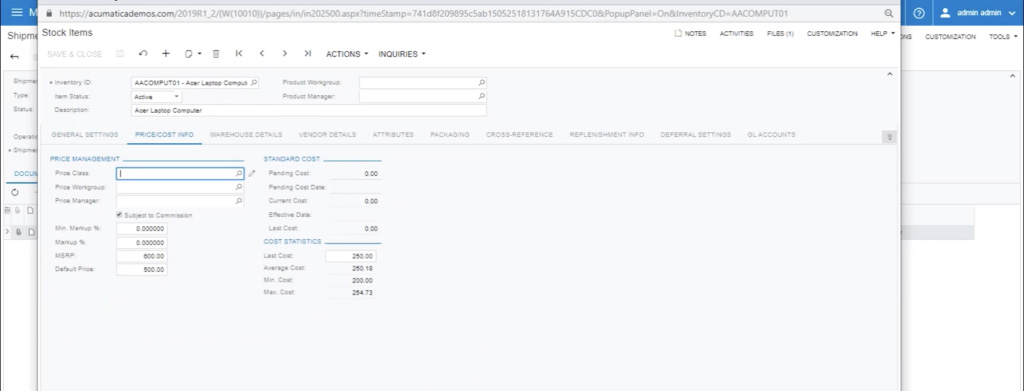
You can also see many different types of variables, including pricing under the Price/Cost Info tab. When we click here, we can view the Price Class that is assigned, the Minimum Markup %, the MSRP, the Average Cost – any pricing details that we may need to see day-to-day.
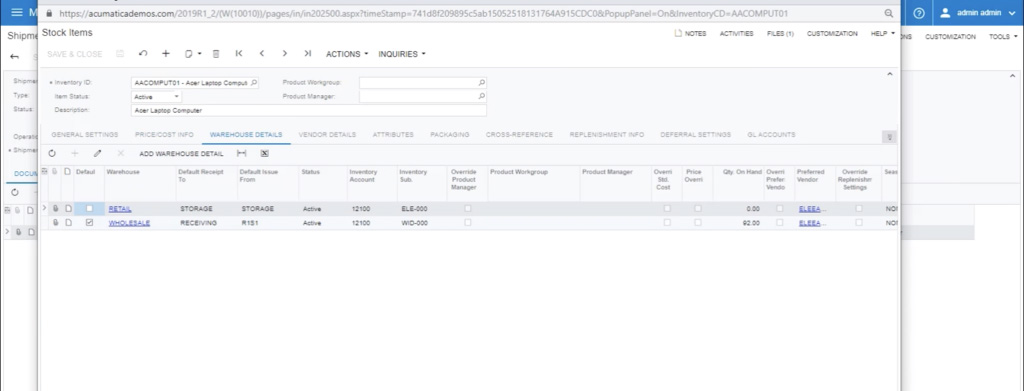
From here, if we click the Warehouse Details tab, it shows you all of your warehouses. There is no limit on the number or quantity of warehouses you can track. I know many businesses that use cargo trucks or vans or trailers as “warehouses” in the system. This allows them to track inventory very well and gain full visibility on which item is sitting on which vehicle.
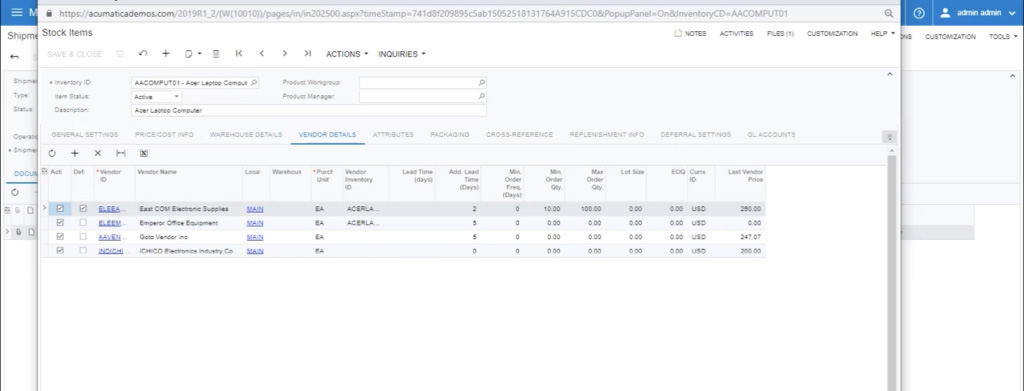
Next, the Vendor Details tab includes the vendor information for that particular item. When you click here, you can see all of the different vendors that we can order this item from.
The Attributes tab can specify the unique characteristics of an item. In this particular case, with the stock item being a laptop, the characteristics include colour, pixel size, etc. All of these details are being tracked, and you can attach images to the stock item. Now, this information can also be tied into a customer portal where if you’re in a Business to Business (B2B) market, your customers can place orders and pay for those orders themselves. It’s a great tool when it comes to an eCommerce solution, especially if you’re in the B2B market.

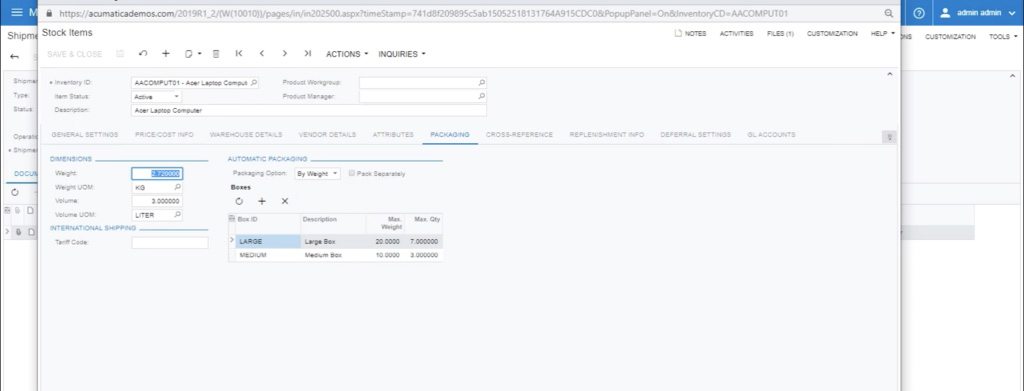
Under the Packaging tab, we can see packaging information and details. This feature is pretty self-explanatory, but very helpful when leveraging a shipping integration with shipping companies like Purolator or UPS. So, you can shop for rates based on the dimensions that are specified in the Packaging tab.
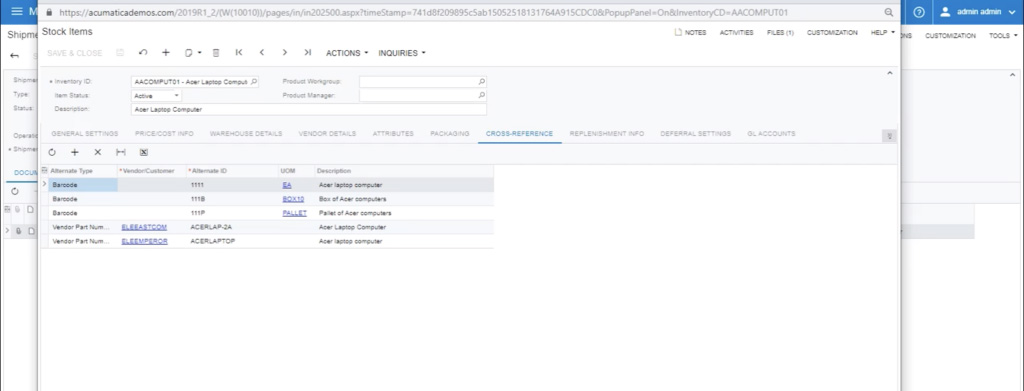
The Cross-Reference tab is quite impressive. Here, you can see a variety of what Acumatica likes to call Alternative IDs. Cross-Referencing provides a substitute code for each item. For example, sometimes we’ll find that the procurement will know more vendor codes than yours internally. To work around this, use both. As soon as your employee starts typing a vendor code in, your item code will automatically default in the field. This makes things a little bit easier for people who are purchasing day in and day out and happen to know their vendor codes better than yours.
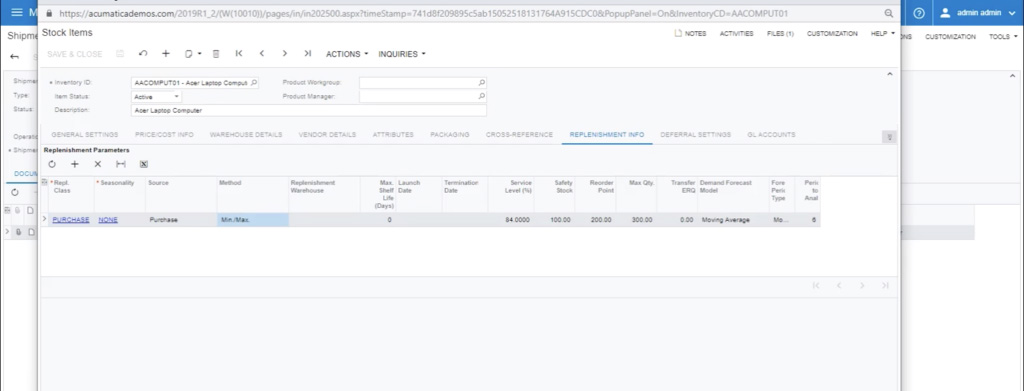
Next, let’s click to the Replenishment Info tab. We did go over this earlier, but replenishment can be tracked at an item level. Here we can see the minimum and maximum deviations as well as the Replenishment Class, which in this example happens to be a Purchase.
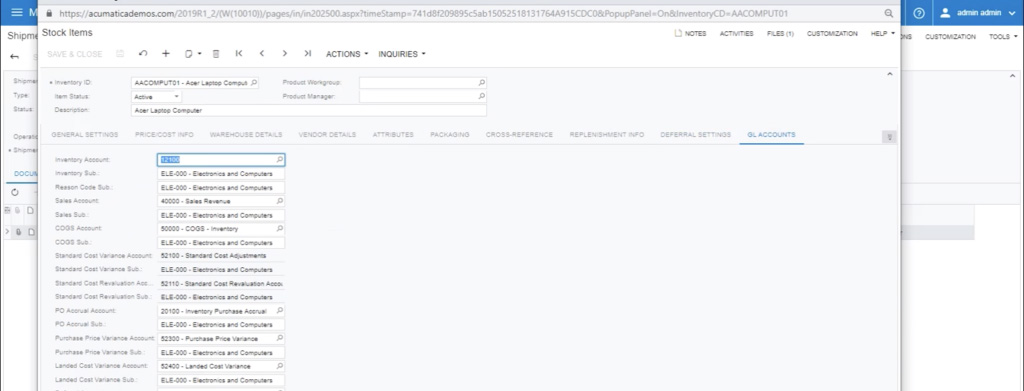
If you do happen to track any deferrals, the Deferral Settings tab is where the settings would be accounted for. For this example with an Acer laptop we’re not tracking deferrals against the item so let’s move on to the last tab – GL Accounts.
For all you accountants out there, yes the GL accounts are all completely automated. Also, depending on the transaction being done, we can see here that all the different GL accounts are being assigned.
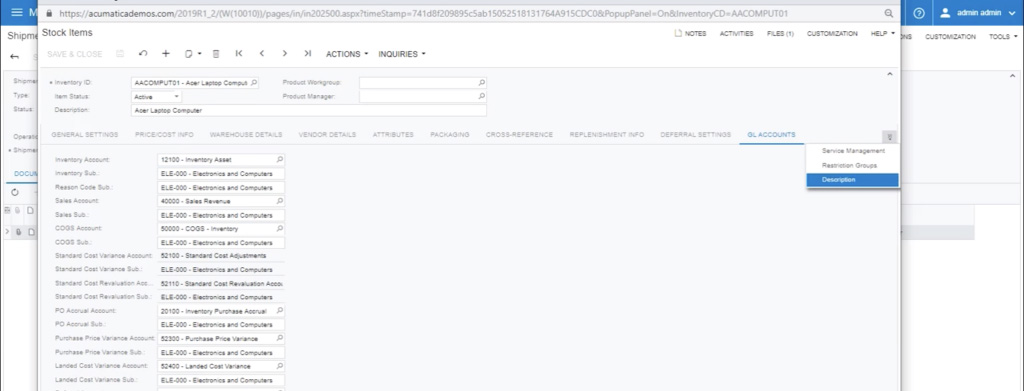
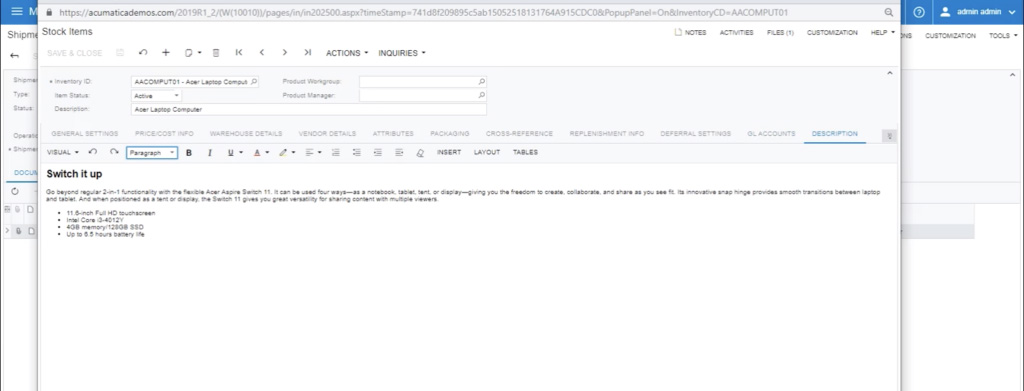
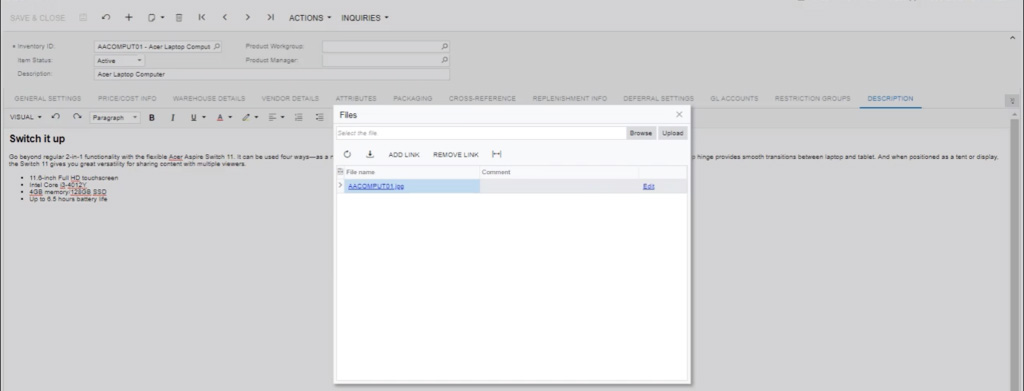
If you click the small icon at the far end of all of the tabs, you will see a drop-down menu with Description as an option at the bottom of the list. When you click here, you can see a description field. This field has no limit on the length of the description or how you describe an item, and it can be synced with the customer portal that we talked about in the Attributes section.
Now, if I go to the top-level navigation, we can see that we’re tracking Activities, Notes and Files. When I click the Files button, a pop-up appears. This happens to come in very handy for many companies who are doing some heavy manufacturing. Whether or not you’re tracking drawings against manufacturing, or something else, you want to be able to see the latest file. Acumatica always maintains the most up-to-date file as long as it’s uploaded and it still keeps the latest revisions stored. That way, you know the attached file is up-to-date, and you can see the revision date as well.
I hope you enjoyed this overview of the Inventory Management module within Acumatica. If you have any questions, as always reach out!
Are you looking for a best in breed inventory management solution? Acumatica won the PCMag Editor’s Choice Award for Best Inventory Management Software of 2018. Winning this award, along with five others, including the SIIA CODiE Award for Best Cloud ERP Solution and Best Manufacturing Solution in 2018, make us confident in Acumatica as a business-changing solution!
Check out our article PC Magazine’s Best Inventory Management Software Going into 2019, to learn more about what sets Acumatica apart from the ERP pack.
3 min read
TheDistribution Management Editionmanages the complexities of distribution, such as purchasing, ordering, tracking inventory, filling orders, and...

2 min read
<span data-mce-type="bookmark" style="display: inline-block; width: 0px; overflow: hidden; line-height: 0;"...

1 min read
Improve Customer Service with Real-Time Access to Available Inventory, Inventory-In-Transit, and Inventory Costs.